-
Runsible - Accessories & Parts 3
-
Community 3
-
Support 3
-
Warranty & Returns 7
-
Shipping 7
-
Orders 6
-
Before You Buy 6
-
About Fun-Tech-Lab 4
-
Runsible - Tips & Best Practices 4
-
Runsible - Care & Maintenance 4
-
Windsible - Getting Started 6
-
Runsible - Troubleshooting 6
-
Runsible - Using Runsible 6
-
Windsible - Tips & Best Practices 6
-
Windsible - Accessories & Parts 6
-
Windsible - Troubleshooting 15
-
Windsible - Using Windsible 8
-
Runsible - Getting Started 4
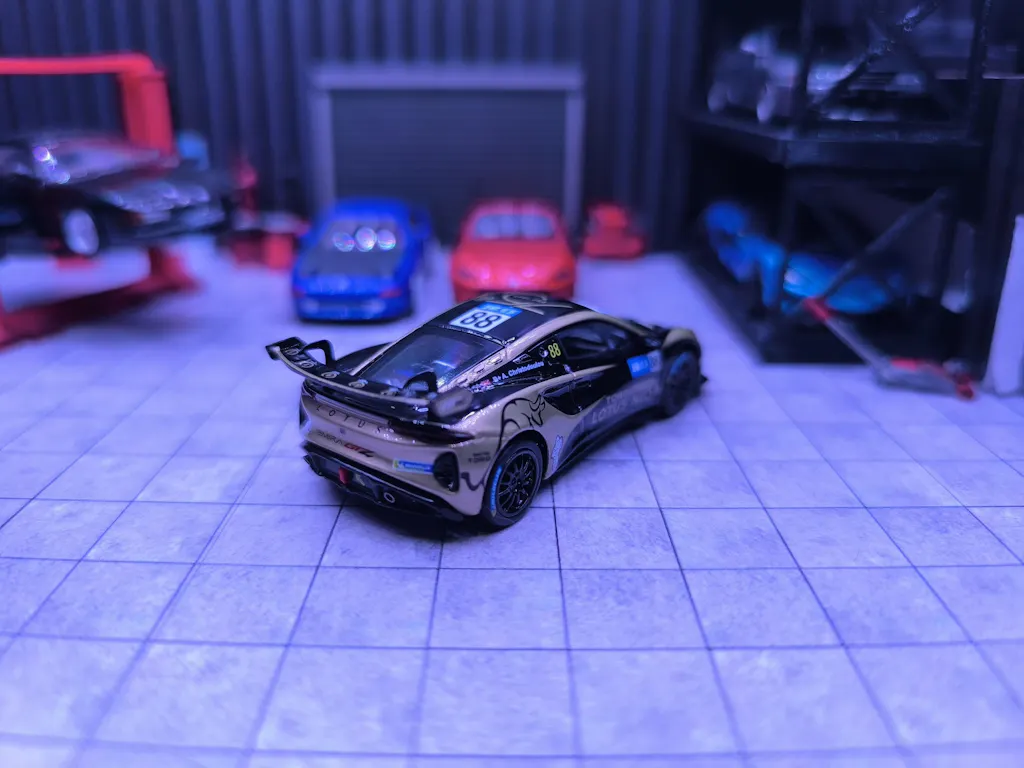
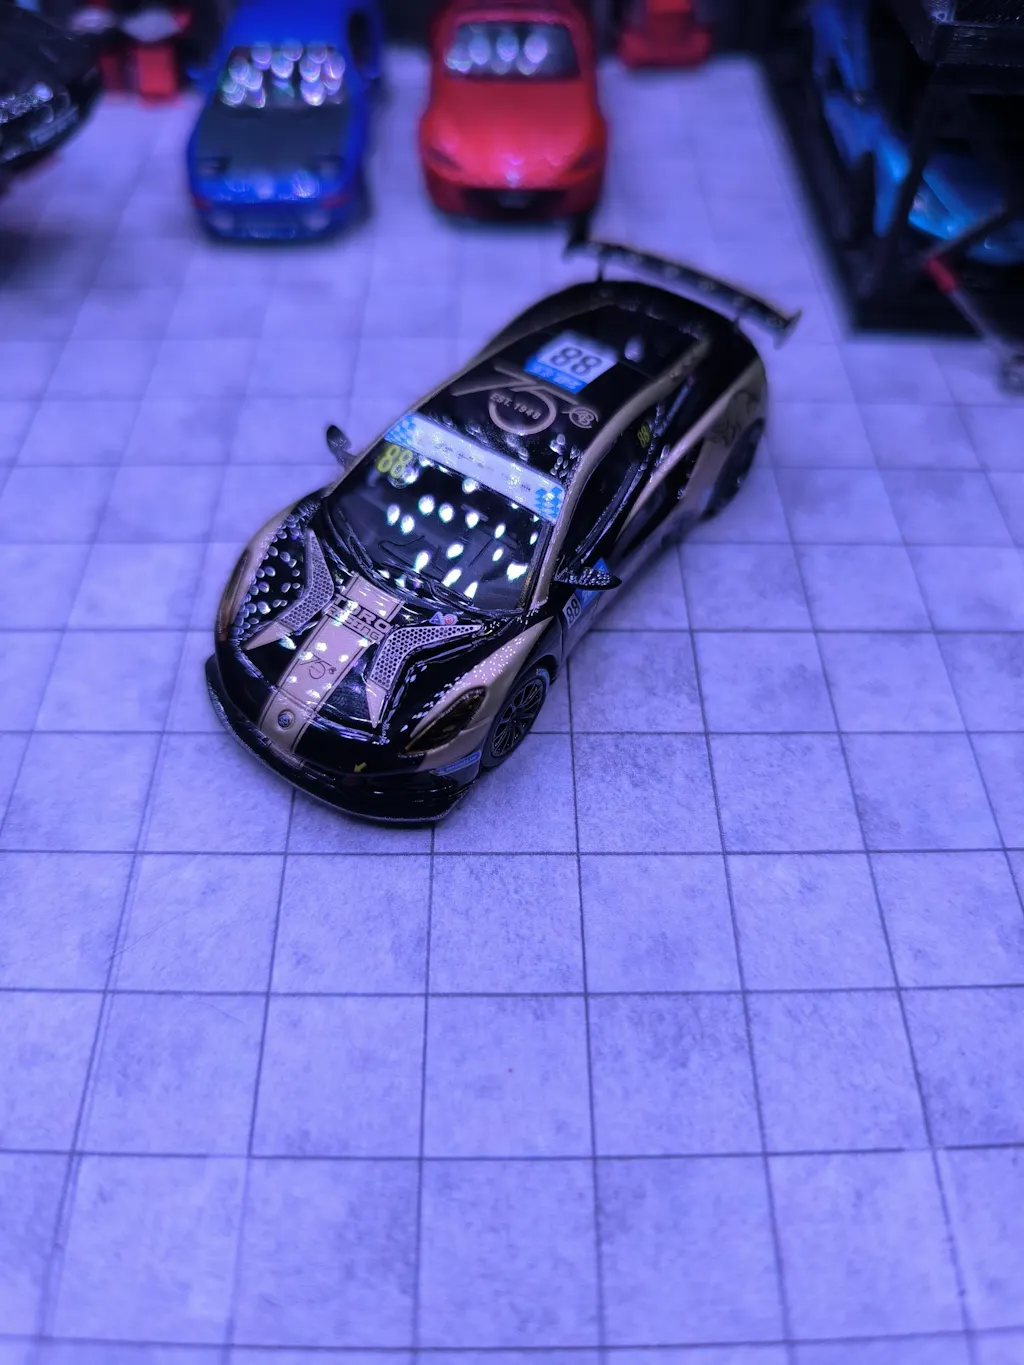
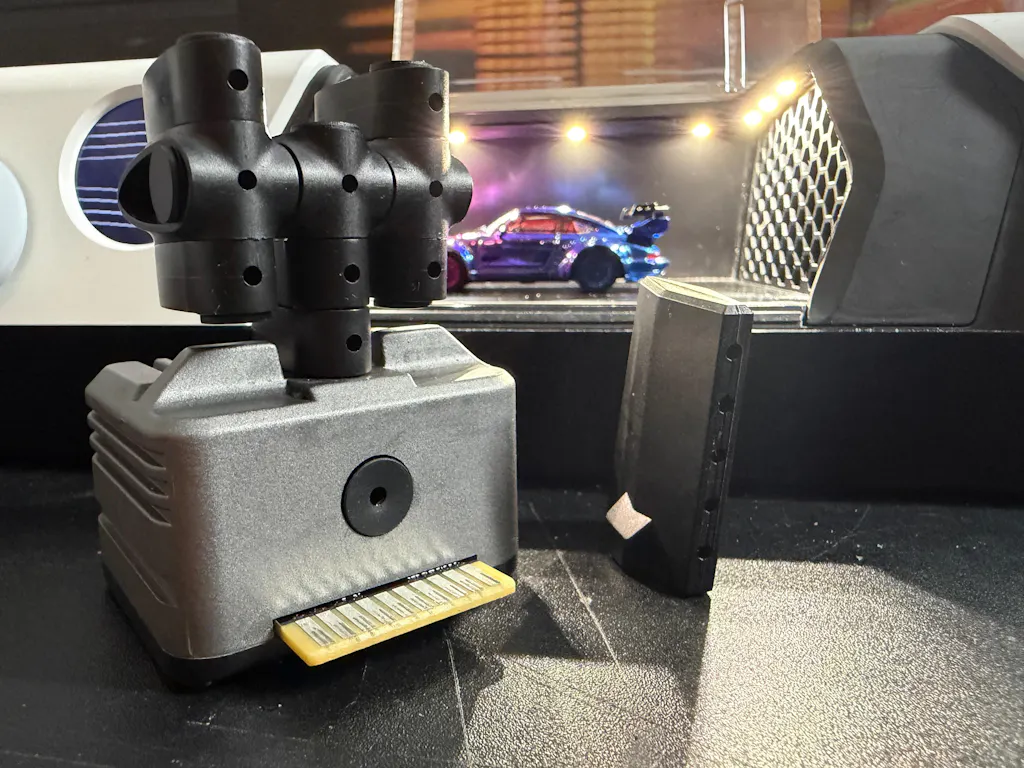
Adjusting Airflow Speed


Airflow Speed controls the strength of the wind moving through the test area. Adjusting airflow helps you create different visualization effects for different models and display scenarios.
Applicable Models
All Windsible Models
How to Adjust
- Power on Windsible.
- Navigate to the airflow or speed setting page.
- Rotate the knob to increase or decrease airflow.
- Observe the airflow pattern around the model and adjust as needed.
Lower Airflow
- Makes fog easier to observe.
- Works well for photography and close-up video.
- Can produce smoother, slower airflow lines.
Higher Airflow
- Creates stronger and more dynamic movement.
- Works well for demonstrations.
- May make fog appear thinner if fog output is not increased.
Notes
Changing airflow speed does not directly change the amount of fog generated. If fog becomes difficult to see, adjust fog output separately.
Related Articles
- Airflow & Fog Controls
- Adjusting Fog Output
- Poor Airflow Performance


esc